Monogrammed Sweetheart Table Runner Tutorial
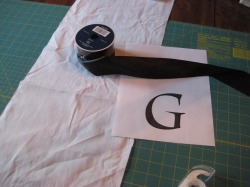
Supplies - 2.5 yards of cotton muslin cut to 12 inches wide, 5.5 yards of ribbon, G monogram printed out, tape, cutting board, and pencil.
I used the cutting board to make sure everything was lined up and then taped both the monogram and the fabric down.
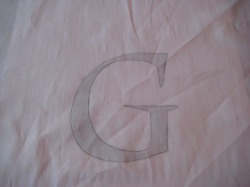
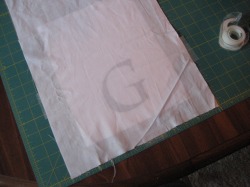
Then I traced a G on each end. (I made mine double ended because I intended to later use in on our dining room table. This is also why I used a longer length of fabric.)
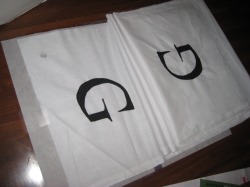
Then I very carefully painted each G with black tempera paint. A little white showed through, so I just touched it up after it dried. And yes, I got some on the corner, but I just made sure the ribbon covered that.
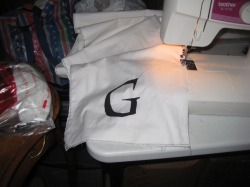
Sewing on the backing. I used part of a sheet that was leftover from another project, but you could use the muslin for the back as well. It's very thin though, so it definitely needs a backing. This is where I made a poor decision. I sewed the two pieces together with right sides out, because I knew the ribbon would cover it. But this means that you have to fold the ribbon around it and that's a lot more work. So I would suggest sewing it right sides together like a pillow and then turning it inside out and then sewing the ribbon on top of the front. Not quite as pretty, but it takes much less time.
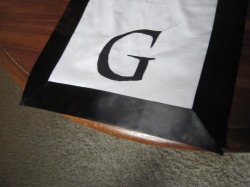
Then I took stitch witchery and ironed on the ribbon. I folded a quarter of the width around the back and folded the corners down to make pretty triangular corners. This step was a lot of work, but I didn't want to see stiches on the front from sewing the ribbon on.
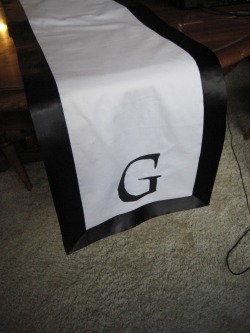
The completed project!
